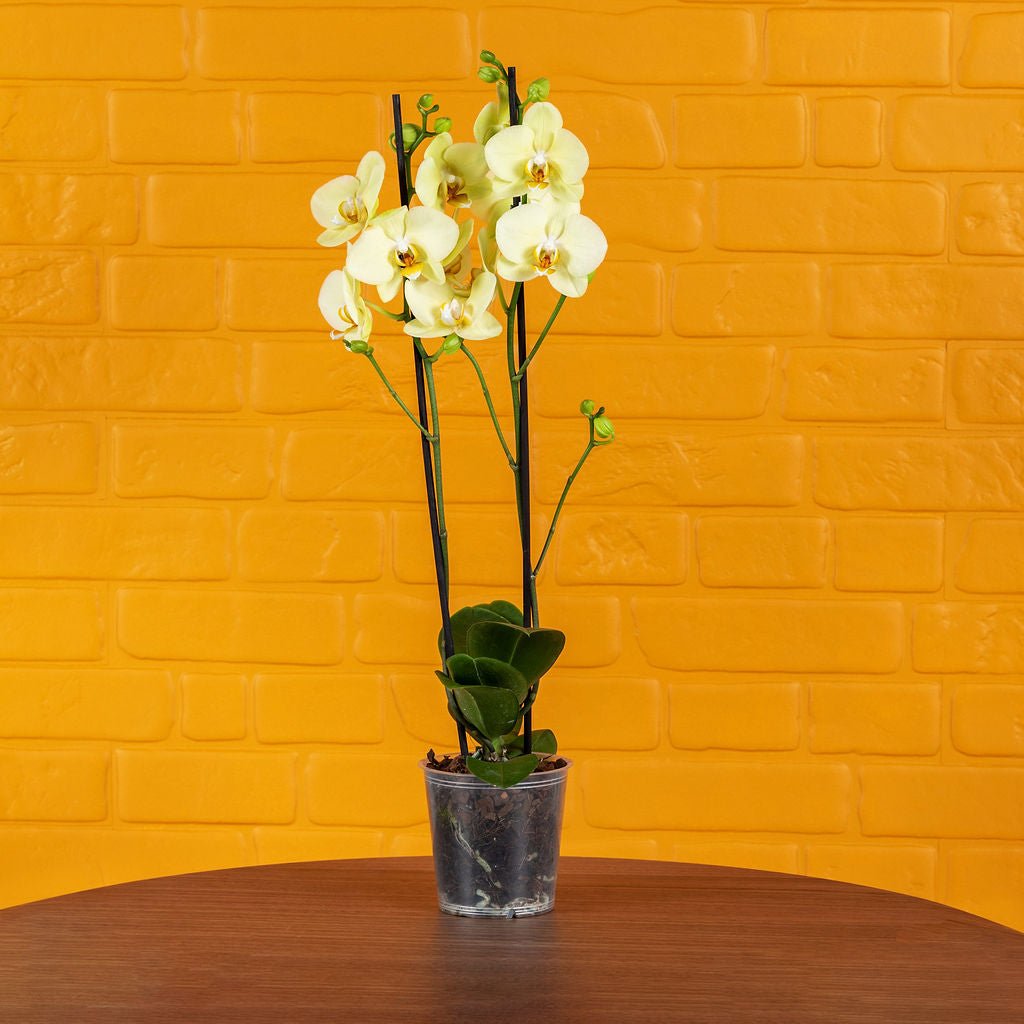



Orchids are a little different from most houseplants – and that includes how often they need repotting.
As a general guide, we recommend checking whether your Phalaenopsis orchid needs repotting after around 1–2 years. That doesn't mean it will automatically need a new pot. The condition of the bark, roots and plant itself are much better indicators than simply following the calendar.
At Love Orchids, we've been growing Phalaenopsis orchids at our family nursery in the New Forest for over 20 years. In this guide, we'll explain when to repot an orchid, the signs that it really does need repotting, what you'll need and how to repot your orchid successfully at home.
In this guide
- How often should you repot an orchid?
- 5 signs it's time to repot
- When is the best time to repot?
- What you need to repot an orchid
- How to repot a Phalaenopsis orchid
- What to do with aerial roots
- Common orchid repotting mistakes
How Often Should You Repot an Orchid?
As a general guide, we recommend checking whether your Phalaenopsis orchid needs repotting after around 1–2 years.
That doesn't mean it will automatically need a new pot. Some orchids will happily stay in the same pot for longer, particularly if the bark is still in good condition and the roots have plenty of room.
After a year or two, take a closer look at your orchid and consider repotting if:
- the bark has started to break down or become compacted
- the plant is beginning to push itself out of its pot
- the roots have become extremely congested
- the plant has become unstable
- there are unhealthy or rotten roots that need attention
If the bark is still chunky and free-draining, the roots look healthy and the plant is sitting comfortably in its pot, there's no need to repot it simply because a certain amount of time has passed.
🌿 Grower's Tip
Don't repot an orchid simply because you can see lots of roots. Phalaenopsis naturally produce substantial root systems and are quite happy with a snug fit. Aerial roots growing above the bark are also completely normal.
5 Signs It’s Time to Repot Your Orchid
1. Your Orchid Is Growing Out of Its Pot
One of the clearest signs that an orchid needs repotting is when the plant itself is beginning to push upwards or has become unstable in its pot.
Phalaenopsis naturally produce roots that grow above the bark, known as aerial roots, so seeing these alone doesn't mean your orchid needs a bigger pot.
Instead, look at the whole plant. If the root system has filled the available space, the plant is being pushed upwards or lots of growth outside the pot is making it unstable, it may be ready for repotting.
🌿 Grower's Tip
Bigger isn't necessarily better. If your orchid needs a larger pot, move up just one pot size rather than choosing a much larger container.
2. The Roots Are Extremely Congested
Orchid roots naturally twist, overlap and weave around one another inside the pot, so a busy-looking root system isn't automatically a problem.
If the roots have become so tightly packed that there is very little room for fresh bark, or the plant is being pushed out of the pot, however, it may be time to repot.
Repotting also gives you an opportunity to inspect the root system and remove any roots that are clearly dead or rotten.
Not sure what you're looking at? Read our Orchid Roots Explained guide for more on healthy roots, aerial roots and common root problems.
3. The Orchid Bark Is Breaking Down
This is one of the most important reasons to repot an orchid.
Phalaenopsis orchids are grown in an open, free-draining bark mix rather than ordinary houseplant compost. The gaps between the pieces of bark allow air to circulate around the roots while excess water drains away.
Over time, bark naturally starts to decompose. The pieces become softer and smaller and can begin to compact around the roots, reducing airflow and holding moisture for longer.
If your orchid's bark has become soft, crumbly or compost-like, it's time to replace it with fresh orchid potting mix.
🌿 Grower's Tip
Look at the bark as well as the calendar. If it is still chunky and free-draining, it's doing its job. Once it starts breaking down and compacting, fresh bark can help restore airflow around the roots.
4. The Potting Mix Isn’t Draining Properly
Changes in the way water moves through the pot can also tell you that the bark is ageing.
Fresh orchid bark should allow excess water to drain freely. If the bark is staying wet for much longer than it used to, has become dense or soggy, or you notice an unpleasant smell from the pot, it's worth taking a closer look.
Repotting into fresh bark can restore the balance between moisture, drainage and airflow that Phalaenopsis roots need.
5. Your Orchid Has Unhealthy Roots
Sometimes an orchid needs repotting because the roots inside the pot have deteriorated or rotted.
Roots that are brown or black and also soft, mushy or hollow may be dead or rotten and should be investigated.
Repotting allows you to remove the old bark, inspect the root system and carefully remove roots that are clearly dead before placing the plant into fresh growing medium.
Colour alone isn't enough to diagnose a root problem, so if you're unsure, read Orchid Roots Explained before cutting anything away.
When Is the Best Time to Repot an Orchid?
If your orchid is healthy and simply due for repotting, a convenient time is usually after it has finished flowering.
Once the flowers have faded, the plant often turns its attention towards growing new roots and leaves, making this a good opportunity to give it fresh bark and, if necessary, a little more space.
You don't need to wait, however, if there is a problem that needs addressing. If the bark has badly deteriorated, the roots are rotting or the plant is struggling in its existing pot, it's better to deal with the problem.
What Do You Need to Repot an Orchid?
Before you begin, have everything ready:
- Fresh orchid potting bark or a suitable bark and coconut fibre mix
- A clean, clear orchid pot with good drainage
- Clean, sharp scissors or secateurs
- A clean work surface
Never use ordinary houseplant compost. Phalaenopsis roots need much more air around them than most conventional houseplants.
If your orchid genuinely needs a bigger pot, move up one size only – for example, 6cm to 9cm, 9cm to 12cm, or 12cm to 15cm.
How to Repot a Phalaenopsis Orchid
Repotting can look daunting when you first see the mass of roots inside the pot, but there's no need to rush.
Step 1: Remove the Orchid From Its Pot
Gently ease the orchid out of its nursery pot.
If roots have grown through the drainage holes, take your time rather than pulling on the plant. The aim is to disturb healthy roots as little as possible.
Step 2: Remove the Old Bark
Carefully remove the old bark from around the roots.
Don't pull away pieces of bark that are firmly attached to healthy roots. Remove what comes away easily rather than damaging the roots trying to make them completely clean.
Step 3: Check the Roots
With most of the old bark removed, inspect the root system.
Leave healthy, firm roots alone.
Using clean, sharp scissors or secateurs, trim away roots that are clearly dead or rotten – particularly those that are soft and mushy or completely hollow.
If you're unsure whether a root is healthy, it's usually better to leave it. Read Orchid Roots Explained for a closer look at what healthy and unhealthy roots look like.
Step 4: Position the Orchid in Its New Pot
Place the orchid carefully into the pot, guiding the roots inside without forcing or sharply bending them.
The base of the crown should sit roughly level with the top of the pot. Take care not to bury the crown or the base of the leaves beneath the bark.
Step 5: Add Fresh Orchid Bark
While holding the orchid in position, gently feed fresh bark around the roots.
Fill the pot to the top, gently tapping the sides of the pot as you go to help the bark settle naturally around the roots.
Don't pack the bark tightly. Some larger air gaps are completely fine – the open spaces help air circulate around the roots and the roots will gradually grow into them.
🌿 Grower's Tip
Take care not to bury the orchid too deeply. The crown should remain above the bark, while the roots sit within an open, airy growing mix.
Step 6: Water Thoroughly
Once your orchid has been repotted, thoroughly wet the fresh bark and allow any excess water to drain away.
After that, return to your normal watering routine and water again when the orchid needs it.
Our How Often Should You Water an Orchid? guide explains how to use the roots and bark to decide when it's time for another drink.
What Should You Do With Aerial Roots When Repotting?
Healthy aerial roots should generally be left alone.
You don't need to cut them off simply because they sit outside the pot, and you don't need to force every aerial root into the fresh bark when repotting.
If some roots naturally sit outside the pot, let them.
A large number of aerial roots can become relevant if the orchid has also become unstable or top-heavy, but aerial roots on their own aren't a reason to repot.
For more on why orchids produce aerial roots, read Orchid Roots Explained.
Common Orchid Repotting Mistakes
Repotting is relatively straightforward once you understand what Phalaenopsis roots need. Try to avoid:
- Repotting unnecessarily – use the 1–2 year point as a prompt to check the plant rather than an automatic deadline.
- Using ordinary houseplant compost – it holds too much moisture and doesn't provide enough airflow.
- Choosing a pot that's too large – if you need more room, move up just one pot size.
- Packing bark tightly around the roots – air spaces are important.
- Cutting healthy roots unnecessarily – only remove roots that are clearly dead or rotten.
- Cutting off healthy aerial roots – they're a normal part of your orchid.
- Burying the crown – keep the base of the crown level with the top of the pot.
Does Repotting Help an Orchid Bloom Again?
Repotting isn't a shortcut to producing flowers.
A healthy Phalaenopsis naturally moves through periods of flowering and root and leaf growth. Fresh bark and a healthy root system support the plant, but an orchid doesn't need repotting simply because its flowers have fallen.
If your orchid has finished flowering, read How to Get Your Orchid to Bloom Again to understand what happens next.
Repotting Orchids: The Grower's Rule
As a general guide, start checking whether your orchid needs repotting after around 1–2 years – but let the plant tell you when the time is right.
Is the bark still chunky and free-draining? Are the roots healthy? Is the orchid sitting securely in its pot?
If so, there's no need to rush.
When the bark begins to break down, roots have deteriorated, the root system genuinely runs out of room or the plant becomes unstable, that's when repotting can be beneficial.
And remember one of the simplest rules for healthy Phalaenopsis roots:
They need air as well as water.
For more help caring for your orchid, visit our Orchid Care Hub.